Monitoring your blood glucose levels is an important part of the day to day management of diabetes. This is particularly so if you have type 1 diabetes or use insulin or sulphonylureas (one type of diabetes medication) to manage type 2 diabetes. If your diabetes is managed with diet and exercise or other types of medication, monitoring may not be necessary but can still be a useful tool in your diabetes management toolkit, particularly when you are first diagnosed.
Why monitor?
There are a few good reasons why you might choose to monitor your blood glucose levels.
- By monitoring regularly you can see whether your levels are in your target range or if they are above or below this range. Your target range will depend on a number of different factors including your age, how long you’ve had diabetes, the type of diabetes medication you take and any other medical problems you might have or other medications you take. Speak to your doctor or diabetes educator about what you should aim for.
- Monitoring can help you to better understand how different factors including food, exercise, stress and illness affect your glucose levels.
- Regular monitoring will help you to know when things get off track and it’s time to see your health care team to adjust your diabetes management plan.
How to monitor?
To monitor you will need a blood glucose meter, test strips and a finger pricking (lancet) device with lancets. There are many different meters available so speak to your doctor or diabetes educator about which one might be best for you.
It’s a good idea to get your diabetes educator to set up your meter and show you how to use it, but most are pretty easy to use. For the majority of meters, you will need to:
--
1. Wash and dry your hands well to ensure an accurate reading. If it’s cold, washing them under warm water can make it easier to get a drop of blood.
2. Put a new lancet into your lancet device and choose the right the depth setting - the shallowest setting that gives you enough blood.
3. Remove a test strip from the vial or foil packet and insert into the meter, which will turn on and give you a message that it’s ready for your drop of
blood.
4. Obtain a drop of blood from either side of your fingertip (using a different finger each time) and apply it to the test strip. The meter will start counting down and will give you a reading within 5-10 seconds.
5. Record the reading in a paper diary or record book, or you can use the memory feature in most meters which keeps a history of your readings with the time and date – this can be uploaded to a computer by you or your diabetes team. Some meters will send the reading to a phone app, where you can record other information such as whether the reading was taken before or after a meal, what you ate and any medication or insulin you took.
6. Place your used strips in the rubbish bin and lancets in a sharps container.
When and how often you check your levels will depend on the type of diabetes you have and how it’s being managed. Your doctor or diabetes educator can advise you on the best times to monitor.
The content of this Website or Blog is not intended to be a substitute for professional medical advice, diagnosis, or treatment. Always seek the advice of your physician or other qualified health provider with any questions you may have regarding a medical condition. Never disregard professional medical advice or delay in seeking it because of something you have read on this Website or Blog. If you think you may have a medical emergency, call 911 (in the US) or 000 (in Australia) immediately, call your doctor, or go to the emergency room/urgent care.
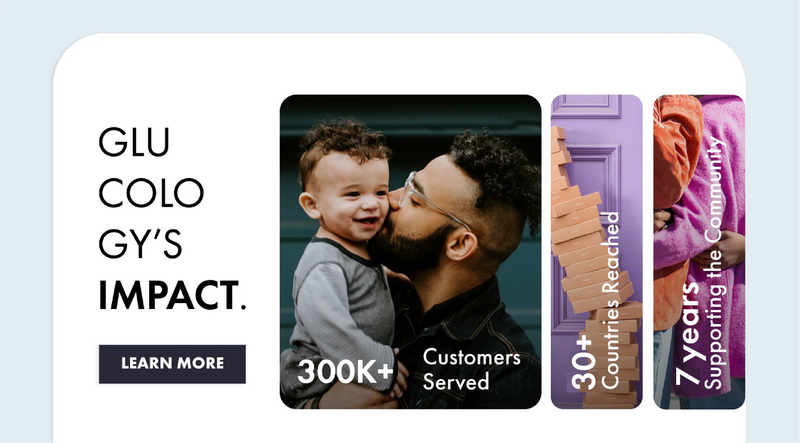
It all began in 2016 when our founder wanted to make daily life easier by simplifying diabetes management. He realised that IBD Medical had the potential to ease the burden of people living with diabetes and empower them. This was when Glucology was born in 2017 in Sydney, Australia.
Glucology was created by IBD Medical and designed to provide stylish, discrete and innovative solutions for people living with diabetes. It gives people access to a bespoke line of support products at an affordable price.
